Angle Kit Wheel Clearance: What Actually Hits at Full Lock on an S-Chassis
9 min read
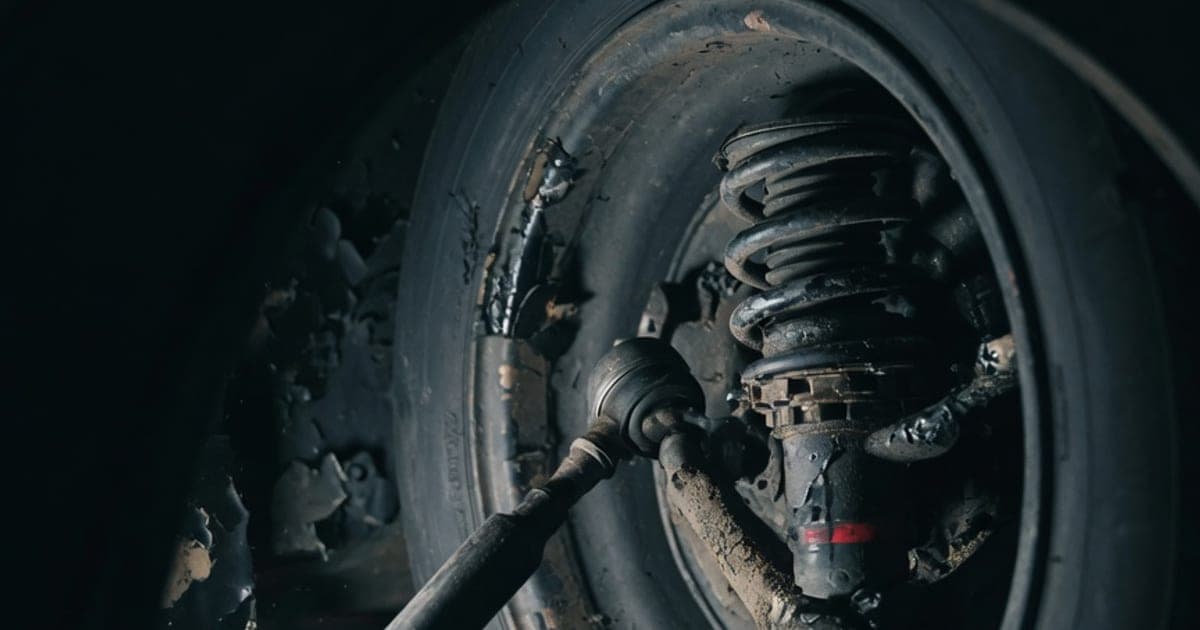
Short version: with an angle kit or drop knuckles fitted, the clearance that disappears is almost never the poke side you were worried about. It is the inside of the wheel, and the three things people actually report hitting are the tyre against the inner guard liner and chassis rail, the wheel or tyre against the tie rod end, and the inner barrel against the coilover spring perch. That is why angle kit fronts generally run a higher, more tucked offset than a stock-steering car of the same width, not a lower one. Nobody can give you a millimetres-per-degree rule, because one does not exist, so the only real answer is checking your own car at full lock and full compression before you buy wheels.
Every page ranking for this question is a vendor selling their own kit. This one sells nothing, though some of what follows still comes from vendor engineering documents (technically sound, but written by someone with a product to move) and some from forum reports that are anecdote rather than measurement. Thinly sourced numbers are labelled as such.
Whether you want the hardware at all is a different question, covered in do you need an angle kit. This assumes it is going on.
Why lock changes the clearance question completely
Static fitment asks where the wheel sits with the wheels pointed straight ahead. That is what the S-chassis wheel fitment guide answers, and it is mostly about the outside of the wheel and the guard lip.
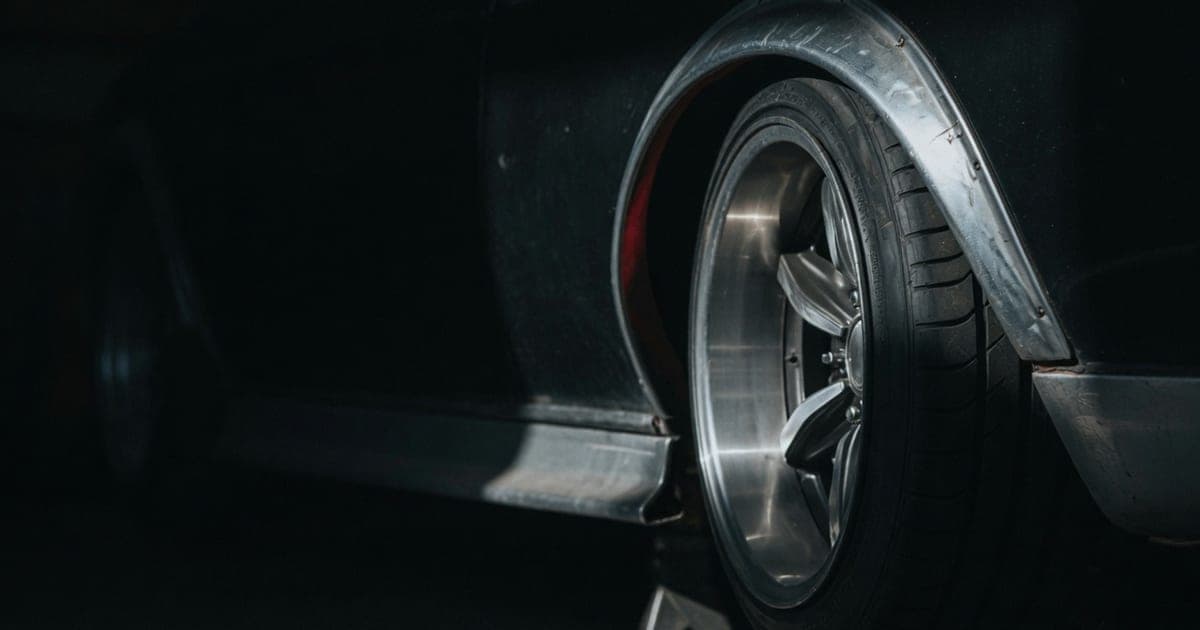
Turn to a big angle and the whole geometry rotates. The inner edge of the wheel swings rearwards and inboard toward the strut, the chassis rail and the tie rod, while the outer edge swings forward. Angle hardware makes this worse two ways at once: it lets the wheel rotate further than the factory intended, and most kits move the ball joint outboard, increasing scrub radius and changing the arc the wheel sweeps.
So a wheel that sits beautifully at rest can still destroy a tyre against a chassis rail at full lock under compression. Separate checks.
What actually hits first
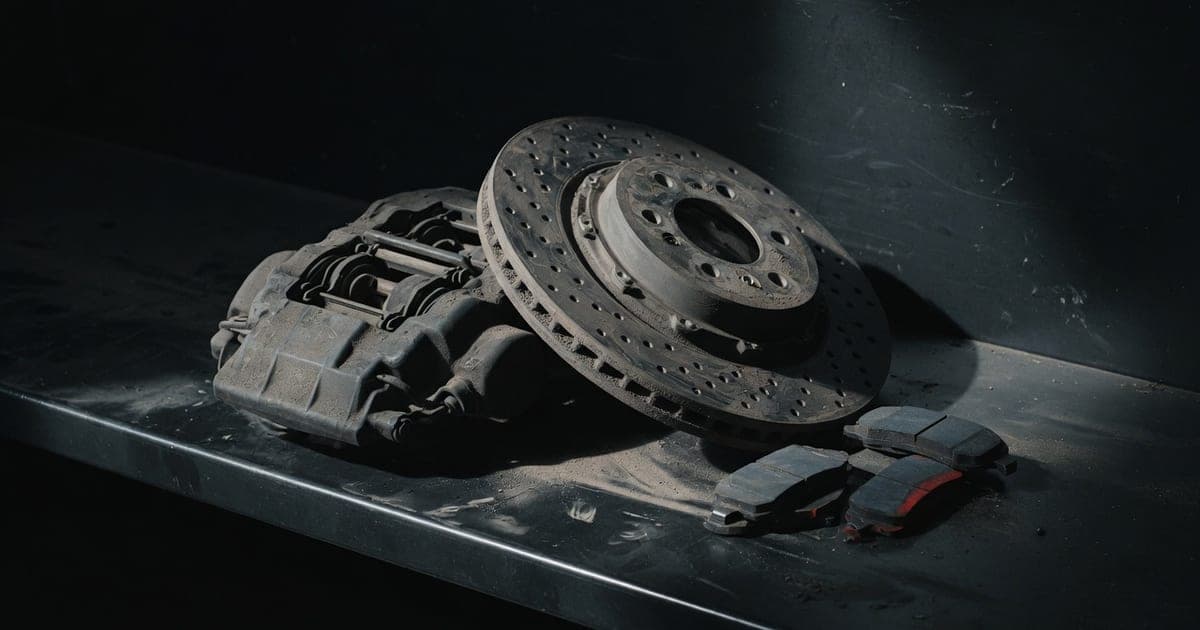
A best-effort ordering from real build reports and published kit engineering notes, not a survey. It reorders itself depending on ride height, wheel width and which kit you fitted. Fitting bigger calipers reorders it again, which is why brakes and wheels belong in the same conversation rather than two separate shopping trips.
1. Tyre against the inner guard liner and chassis rail
The most commonly reported contact by a clear margin. The plastic liner is the first casualty and catches badly at full lock. Most people remove it, a legitimate fix for clearance, though the car then throws road water and stones at whatever lives in the guard.
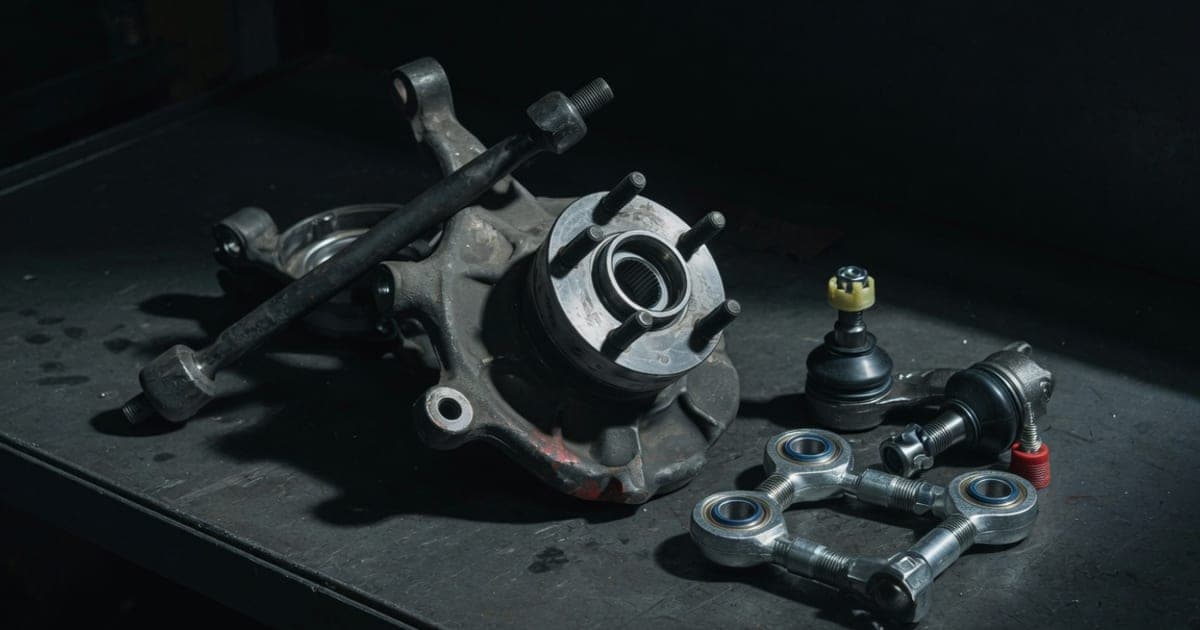
Behind the liner is the chassis rail, and that is the one that matters. The common counter-measure is S14 lower control arms: the S-chassis front arm is two pieces, a transverse link and a tension rod, and the S14 versions run roughly 6mm and 20mm longer respectively, pushing the hub outboard enough to buy real clearance off the rail. A geometry change with its own consequences, not a free fix, but it is why so many S13 angle builds run S14 front arms.
2. Tyre or wheel against the tie rod end
The pinch point drift knuckles are designed around. Modified knuckles move the outer tie rod pickup outboard precisely to buy clearance between the tie rod end and the lower control arm, which is why so many kits require offset rack spacers. If your kit does not relocate that pickup, the pinch point stays where it was and gets asked to survive more lock.
3. Inner barrel or tyre against the coilover spring perch
Fitting a kit does not automatically clear the strut. At least one build running an 18x9.5 at an offset in the low twenties reported the limiting factor was the coilover springs, not the guard at all. One kit maker publishes a 10mm minimum strut-to-tyre clearance target for their drop knuckles, which tells you how tight this zone is.
That makes spring and perch diameter on your coilovers a fitment variable, which almost nobody considers when buying dampers. If dampers are still on your list, measure the perch before you commit to a front wheel.
4. Wheel binding on the lower control arm
At extreme angles, past roughly sixty degrees, the wheel can foul the arm itself. This is why purpose-built angle kit arms are relieved on their inboard face. On stock arms with a lot of lock, it is a real contact point.
5. Steering bind, which is not a clearance problem at all
Worth separating because it gets misdiagnosed as rubbing. As the steering arm and tie rod approach parallel at extreme angle, the linkage runs out of usable geometry and the steering goes heavy or locks up. Nothing is touching. The fix is geometry, usually rack relocation or knuckle design. Heavy steering near full lock with no witness marks anywhere is this.
The number nobody can honestly give you
There is no reliable millimetres-of-backspacing-lost-per-degree figure. We went looking, including in articles promising numerical examples in their headlines, and it does not exist.
That is the nature of the problem, not a gap in the research. Whether you lose clearance to the rail, the tie rod or the strut depends on which pinches first on your car, and that depends on kit geometry, ride height, camber, tyre section, wheel width and where the ball joint ended up. A single ratio cannot describe a system where the binding constraint moves from car to car.
Kit-specific anchor points do exist. One manufacturer publishes that their bolt-on kit moves the ball joint outboard 30mm, a straight 30mm of added scrub radius, and quotes a maximum backspacing of 150mm against a reference 17x8.5 around +20 on a 225/45R17. Real numbers, one kit, one wheel. Not a general rule. Anyone quoting a clean per-degree number is guessing.
What offset people actually run with an angle kit
Here is the counter-intuitive part. The direction is consistent across kit makers who publish guidance: angle-kitted and drop-knuckle fronts want a higher, more tucked offset than the same width would take on a stock-steering car.
The logic is simple once you see it. A kit that pushes the ball joint outboard has already spent 30mm of your scrub radius budget. A higher offset pulls the wheel back inboard toward the hub face and gives some of that back, while also moving the inner barrel away from the strut. One manufacturer states plainly that offsets below around +20, or widths beyond 10 inches, start creating clearance problems on their kit.
A recurring reference from the European kit makers is a target front backspacing of roughly 135 to 140mm, worked out as backspacing in mm = (width in inches x 25.4 / 2) + offset:
| Front width | Rough target offset |
|---|---|
| 7J | around +45 |
| 8J | around +35 |
| 9J | around +25 |
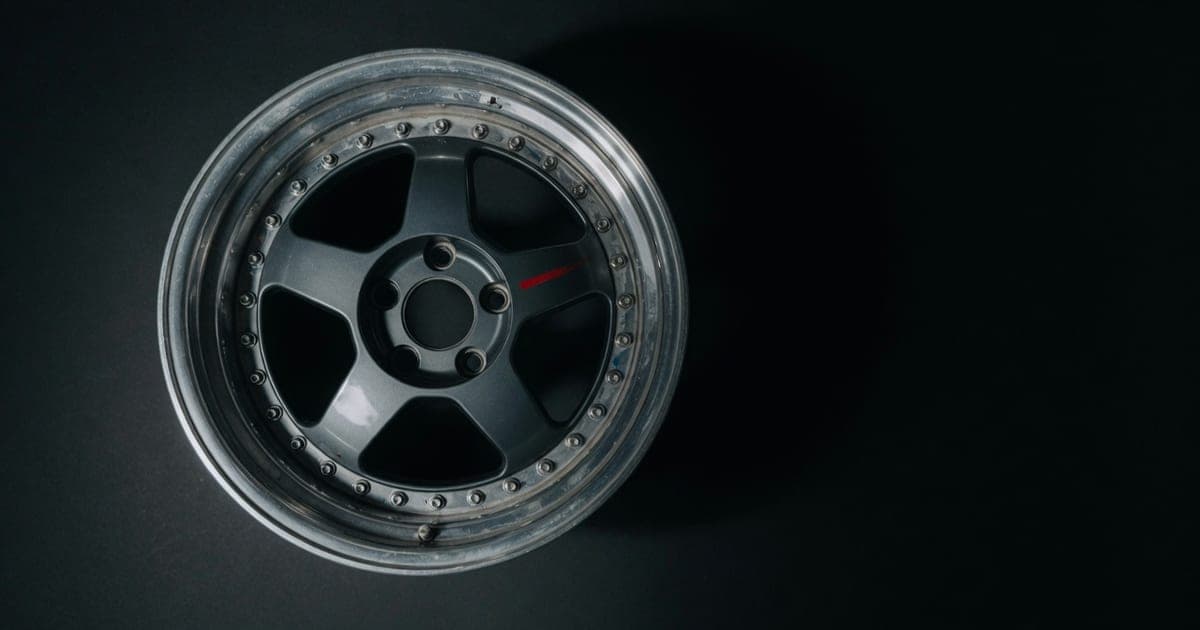
Run your own wheel through that formula rather than trusting the table alone: a 9.5J at +15 and a 10J at +10 both land around 136-137mm, the same band, despite offsets that look far more aggressive than the +25 quoted for a 9J. Wider wheels need numerically lower offsets to sit at the same depth, which is exactly why kit makers publish backspacing rather than ET. One phone call worth making first: some makers quote backspacing to the inner rim flange instead, adding roughly 12mm, and at these tolerances that is the difference between fitting and not.
Treat it as a starting point for the front only, tied to specific kits, and run your real numbers through the wheel offset calculator: current wheel one side, candidate the other, inner clearance read off directly, because on an angle kit car that is the number that decides everything.
For the rear, none of this applies. The rear does not steer, so normal fitment logic governs, and the combinations in the S-chassis fitment chart are the reference.
How to check clearance yourself, before you buy wheels
No vendor page will tell you this, because the honest answer is to test before you spend. If the wheels are not bought yet you can model it before you buy and narrow the shopping range first, then use the steps below on the set you actually own.
- Get the car on stands, both fronts off the ground.
- Turn slowly to full lock, both directions, with someone watching. One person turning, one with their head in the guard. Do each direction separately: the inner and outer wheel foul different things, and an S-chassis is rarely symmetrical after a life of kerbs.
- Do it at full compression too, not just ride height. This is the step people skip and the one that matters. Jack the hub to compressed height while the wheel is at full lock and check again. A car that clears by a few millimetres on stands can absolutely make contact under load on entry, because bump and lock happen at the same moment in real driving.
- Mark the suspects. Chalk or paint marker on the tie rod end, spring perch, liner edge and inner barrel. Cycle lock to lock, then look for fresh witness marks. Rub marks do not lie, and they tell you which of the five contact points above is actually your limit.
- Consider pulling the spring. Removing it lets you walk the knuckle through the full range of lock and travel by hand. More work, far better information.
Do this with a wheel you already own before committing to a new set. A borrowed wheel of known spec that clears beats every generalisation in this article.
Kit design differences that change the answer
Two architectural splits genuinely affect clearance, kept brand-neutral.
Does the kit relocate the tie rod pickup? Knuckles that move the outer tie rod point outboard change where the pinch happens and buy clearance there. Kits that add lock without moving it leave the original pinch point in place and ask it to do more. Neither is wrong, but they answer the clearance question differently, and it is fair to ask before buying a used kit.
Rack relocation versus offset rack spacers. Both address steering bind, not clearance directly. Welding the subframe to move the rack is the permanent answer; bolt-on offset spacers are the accessible one. Spacers carry a documented durability concern: at least one long-running independent workshop reports most steering rack failures they have seen traced back to offset spacers, and generic ones can bottom out rack seals or introduce bump steer. Kit-matched spacers are standard practice; generic ones on a standard rack carry real, reported risk.
Tyre stretch, honestly
A stretched tyre pulls the sidewall inboard from the lip, so it bulges less and clears more than a square tyre on the same wheel. That direction is real.
But being straight: no kit manufacturer or documented build we could find cites stretch as a fix for full-lock rubbing. That makes it plausible reasoning, not established practice. The other side of the trade is documented: meaningful stretch raises the risk of sidewall bubbling, splitting and debeading, and there is a roadworthy grey area that varies by state. Use a little if it helps. Do not use it to rescue a fitment that is fundamentally wrong.
The order that saves money
Decide the kit first, because the kit sets the geometry. Fit it. Test clearance with wheels you own or can borrow. Then buy wheels, with the inner clearance number in front of you rather than the poke number. Buying an aggressive fitment first and hoping the kit works around it is the expensive path, and the one most people take because the wheels are the fun purchase.
Browse the current wheels and tyres listings filtered to your PCD, width and offset band, and check the rest of the listings for used knuckles, arms and kits coming off other builds. If the old kit or the wrong-offset wheels are in your shed, list them free with the actual specs, because the next person is doing exactly this research right now.