S-Chassis Wheel Fitment Chart: 18x9.5, 18x10 and 180SX Offset Lookup Tables for S13, S14 and S15
9 min read
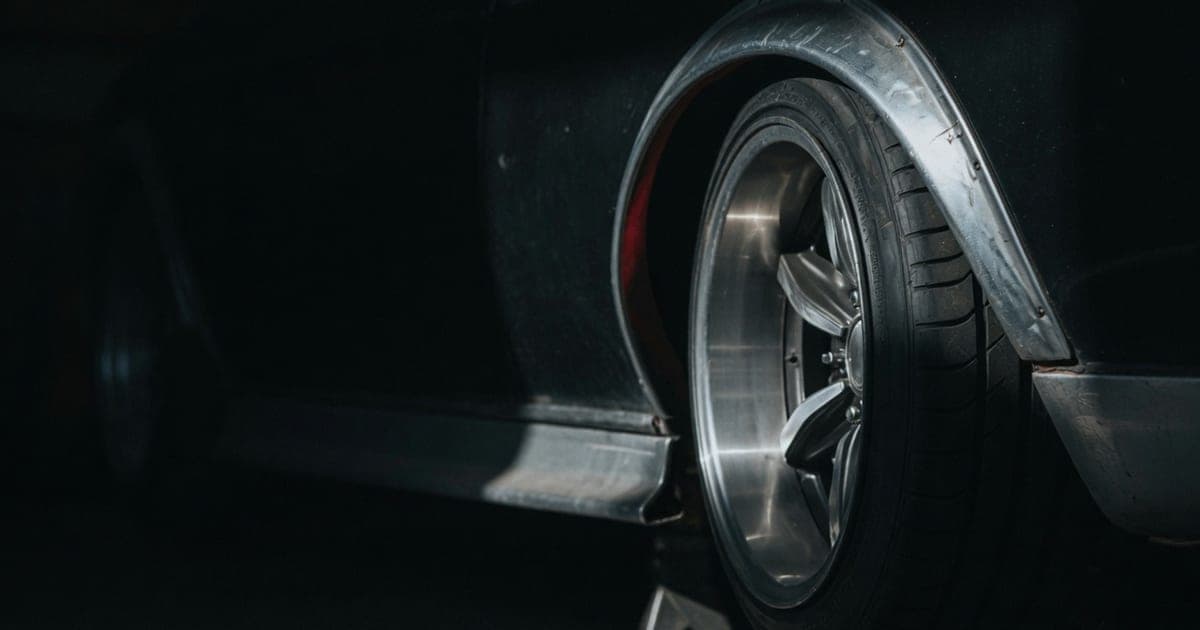
Short version: on a sorted S-chassis at drift ride height with a couple of degrees of front camber, 18x9.5 from the mid +20s up sits flush to tucked on all three chassis, front and rear. Drop into the teens and low twenties and you are into roll-the-guard territory. Anything at 18x10 or wider below +15 wants a roll, a pull and real camber, and the 180SX's rear quarters are the one spot in the whole family that runs out of room first. That is the summary. Below are the actual lookup tables, because "roughly flush" is not much use when you are staring at a listing for a specific size at a specific offset and deciding whether to send a deposit.
This chart is the layer beneath the S-chassis wheel fitment guide: read that one first for what PCD, offset and width actually mean and the general 17-inch bolt-on ranges. This page assumes you already know the four numbers and pushes further into 18-inch territory and the specific sizes people actually search for: 18x9.5 +15, 18x10 +12, and what a 180SX can carry out back.
How to read the tables
Every row is a width, an offset band and a verdict, split by chassis and axle where they genuinely differ. The verdicts mean:
- Tucks: sits under the guard lip at a sensible ride height, no drama.
- Flush: roughly level with the guard lip. Fine on smooth roads; hard compression or a pothole can still tag it.
- Needs roll: the guard lip needs rolling flat, no cutting, to clear reliably.
- Needs pull: rolling alone is not enough; the lip needs pulling outward as well.
- Needs flares: beyond what roll-and-pull fixes without cutting. Bolt-on or riveted flares are the honest answer, not a last resort.
The bands are continuous. Whatever offset you are looking at, one row covers it, because a lookup table with holes in it is worse than no table: the reader whose wheel lands in the hole has no way of knowing whether the gap means "nobody has tried it" or "we forgot". Where a band edge is not itself sourced, it has been set by widening the neighbouring band outward rather than by inventing a row, so where these tables are wrong they are far more likely to over-state the work than to under-state it. The one rule used to place an unsourced edge is the site's own: a roll buys roughly 10mm, which is where the roll band under each sourced flush row comes from.
Offsets are given as bands, not single numbers, because two cars at the identical size and offset genuinely give different verdicts depending on the rest of the setup. That is not this chart being vague, it is being honest: every source it is built from (fitment galleries, forum build threads, and the drift-specific presets built into this site's own wheel offset calculator) shows real spread at the edges of each band. Use the bands to narrow your shopping, then confirm the specific wheel against your specific car before you buy.
The lookup tables
Front
| Chassis | Size | Offset | Verdict |
|---|---|---|---|
| S13 / 180SX, S14, S15 | 17x9 or 18x9 | +20 and above | Flush at +20, tucking further as the offset climbs |
| S13 / 180SX, S14, S15 | 17x9 or 18x9 | +10 to +20 | Needs roll |
| S13 / 180SX, S14, S15 | 17x9 or 18x9 | Below +10 | Needs pull; check clearance lock to lock |
| S13 / 180SX, S14, S15 | 18x9.5 | +25 and above | Flush at +25, tucking further as the offset climbs |
| S13 / 180SX, S14, S15 | 18x9.5 | +15 to +25 | Needs roll (the common S15 front combo lands right here) |
| S13 / 180SX, S14, S15 | 18x9.5 | Below +15 | Needs pull; check clearance lock to lock |
The front does not split by chassis, and that is deliberate rather than lazy. The three front reference fitments this site works from (S13 18x9.5 +27, S14 and S15 18x9 +22, the same numbers the wheel offset calculator is built on) put the three front guard lips within about 1.5mm of each other once you convert them to poke. That is well inside the spread of the sources themselves, so splitting the front into three tables would be inventing a difference we cannot measure. The extra room an S14 and S15 genuinely have over an S13 shows up on the rear, and the rear table below does split.
The front table stops at 9.5J in one direction and 9J in the other because that is where the sourced front data stops. Narrower than 9J is the bolt-on territory the fitment guide covers, and wider than 9.5J on the front is angle-kit territory where full lock decides the answer long before the guard lip does, so read the angle kit wheel clearance guide instead of extrapolating these rows.
Rim diameter is not in the table because it does not belong there. A 17x9 and an 18x9 at the same offset put the rim lip in the same place; only width and offset move the wheel sideways. Diameter changes tyre choice and brake clearance, not poke.
Two consequences worth reading before you use the numbers. Half an inch of extra width moves the lip out 6.35mm, so a 9.5J band sits 6mm or so higher in offset than the 9J band for the same result, which is exactly the gap between the two ladders above. And far enough below either bottom band the honest answer stops being a pull and becomes a flare; the calculator draws that line at around ET 0 for an 18x9.5 front, which is well past anything you should be shopping for on a street car.
Front width usually runs half an inch to a full inch narrower than the rear at the same offset once you go staggered, because the front carries less power and the priority is steering clearance, not traction.
Rear
| Chassis | Size | Offset | Verdict |
|---|---|---|---|
| S13 / 180SX | 17x9.5 or 18x9.5 | +25 and above | Flush at +25, tucking further as the offset climbs |
| S13 / 180SX | 17x9.5 or 18x9.5 | +15 to +25 | Needs roll. An S13 coupe or sedan tucks where a 180SX still wants the roll: the 180SX quarters are the tightest panel in the family |
| S13 / 180SX | 17x9.5 or 18x9.5 | Below +15 | Needs pull |
| S14 | 18x9.5 | +22 and above | Flush at +22, tucking further as the offset climbs. The safe reference point on a stock body |
| S14 | 18x9.5 | +12 to +22 | Needs roll |
| S14 | 18x9.5 | Below +12 | Needs pull |
| S15 | 18x9.5 | +30 and above | Tucks |
| S15 | 18x9.5 | +20 to +30 | Flush to slight poke |
| S15 | 18x9.5 | +10 to +20 | Needs roll |
| S15 | 18x9.5 | Below +10 | Needs pull |
| S13 / 180SX, S14, S15 | 18x10 and wider | +15 and above | Needs roll and camber; budget for the pull, see the note below |
| S13 / 180SX, S14, S15 | 18x10 and wider | Below +15 | Needs roll, pull and camber; flares are a live option, and the 180SX quarters run out of room first |
Rear 18x10 and wider is one row set for all three chassis on purpose. The sourced builds disagree with each other by more than they disagree by chassis at that width, which is the subject of the first contested note below, so splitting them by badge would dress a disagreement up as a specification.
Where this gets genuinely contested
Two spots in these tables are not the site smoothing over a clean answer. They are real disagreement in the community, and you should know that before you buy.
18x10-ish rear at low offset. Whether this needs a roll or a full roll-and-pull depends heavily on ride height, camber and whether you are running a stretched tyre. Builds on a rolled-only guard with a 245 report clean clearance; others at what looks like the same size and offset report needing the full pull plus flares. The honest read: budget for a pull, be pleasantly surprised if a roll is all it takes, do not assume the reverse.
S15 versus S14 at similar numbers. One well-documented S15 build runs 9J at +12 front and 10J at +12 rear on standard arches with nothing more than a rear roll. S14 owners chasing the same width and offset commonly report needing a pull and real camber to get there cleanly. The two chassis share a great deal, but guard profile is not identical, and a number that is easy on one is a project on the other. Note that the same build's 9J +12 front sits a full band easier than the front table gives it, which is a fair measure of how much spread these sources carry: about one verdict either way at the edges. Treat any specific combo you read about as a strong lead, not a guarantee, until you have test-fitted it on your own car.
What changes the answer
The table assumes nothing about your specific car, so four things move every verdict in it:
- Ride height. Lower changes the arc the tyre sweeps through in suspension travel, and it is the single biggest swing factor between "tucks" and "needs roll" at the same wheel spec.
- Camber. A couple of degrees of negative front camber tilts the top of the tyre inward, away from the guard lip, which is the cheapest clearance you will ever buy. Almost every verdict above assumes a sensible amount of it rather than zero.
- Tyre stretch. A tyre narrower than the wheel reduces the sidewall bulge that hits first. Stretch buys clearance; it also gives up sidewall support, which matters more on the front than the rear.
- Angle kit. Everything above is a static check: car stationary, wheels straight or at a normal alignment angle. Steering to full lock swings the front wheel through an arc a static check never reveals, and modified knuckles or a full kit change how far that arc goes. If angle hardware is in the picture, treat this chart as step one and read the angle kit wheel clearance guide for what actually hits at full lock and how much clearance a kit costs you.
For the exact poke and backspacing numbers a size change gives you against your current wheel, run it through the wheel offset calculator: plug in what you have and what you are considering, and it draws the cross-section to scale instead of making you do the millimetre arithmetic by hand.
Buying against this chart
Once you know the band you are shopping in, browse wheels and tyres for sale filtered to your PCD, diameter and width, and check the offset against the tables above before you message a seller. A few secondhand-specific habits worth keeping:
- Ask the seller to measure the offset rather than trust the listing title. "18x9.5 et15" typed from memory is wrong often enough to matter.
- If a set is JDM-branded and priced like it, the authenticity checks in how to spot fake JDM wheels are worth five minutes before a deposit goes anywhere.
- Test-fit before mounting fresh tyres. A verdict of "needs roll" assumes a competent roll job on a guard in decent condition; rust or prior damage changes the outcome.
The numbers, then the wheels
These tables get you into the right size and offset band fast, but they are a starting point, not a substitute for a tape measure and a test fit on your own car at your own ride height. Once you have narrowed it down, the current wheels and tyres listings are where the actual stock is, and if you have a set sitting in the shed that turned out to be the wrong offset for your build, list them free: someone shopping against this exact chart is searching for precisely those numbers.